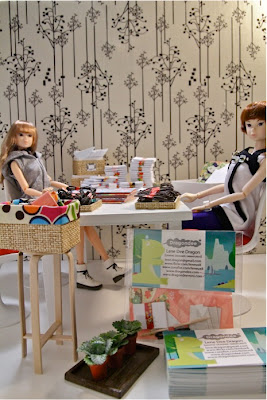
I just thought of finally posting this tutorial online. I originally created it on power point as a short craft workshop/presentation for the Re-ment Fan Club Meeting last March. I made small craft kits for everyone, so they can make their own mini notebooks as I walk them through the tutorial during my presentation.
Here is my staff creating the kits. ^_^
I turned the presentation into a movie clip, but sorry it doesn't have words. I thought it would at least give an idea on how this little notebook is made. I guess I should call it a demonstration rather than a tutorial huh? Is there really a difference?
Here is a picture of the materials. You can make it any size you wish. The DISTANCE GUIDE is any material that's around 2mm thick. I included it just so people would have an idea on how far away the card stocks should be from each other. You can just eyeball the distance if you like.
For the card stock I actually used a bristol board, but you can always recycle cereal boxes or other 0.5-1mm thick cardboard you can find.
For the card stock I actually used a bristol board, but you can always recycle cereal boxes or other 0.5-1mm thick cardboard you can find.
I use wood glue most of the time as it dries a little faster than ordinary glue. Since it dries faster, the less the paper absorbs it, the less wrinkle it creates.
I chose to use Washi paper since you can never go wrong with washi, but you can use any pretty paper you want. Just try to use less glue if you're using ordinary paper as the glue will wrinkle the paper (which is rarely a problem with washi paper).
HERE IS THE VIDEO TUTORIAL
And for the last step....use them in your dioramas!
Enjoy! :)
If you have any questions, feel free to send me a message or leave a comment.
Please join my Facebook Like page
Please join my Facebook Like page


